Bridal How-to: Classic Wedding Makeup Tutorial
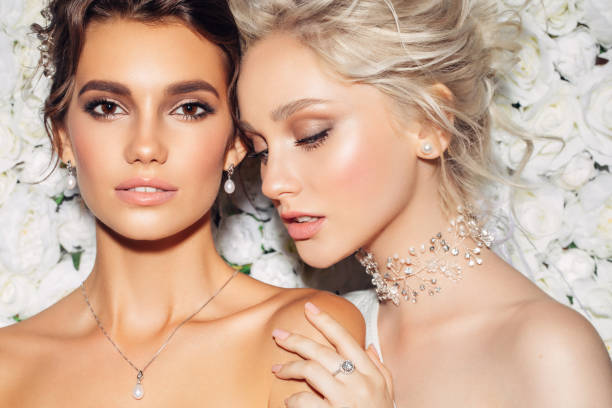
A timeless look for any bride is essential for an unforgettable wedding day. Classic wedding makeup remains a popular choice because it exudes elegance, sophistication, and purity. This tutorial provides a step-by-step guide to achieving that perfect, iconic bridal glow that complements any dress and theme. From a flawless base to a subtle eye and a kissable lip, this classic makeup approach ensures you look back on your photos with fondness for years to come.
Step 1: Skin Prep Is Essential
Before you dive into your makeup bag, preparing your skin is a crucial first step. A good base ensures that your makeup glides on smoothly and lasts throughout the ceremony and reception. Start by cleansing your face to remove impurities and any excess oil. Follow this with a hydrating moisturizer, which will plump up your skin and eliminate any dry patches. Don’t forget to apply a lip balm to keep your lips supple and ready for that long-lasting lipstick. A makeup primer is your final step in preparation, providing a smooth canvas for foundation and helping your makeup adhere better.
Step 2: Flawless Foundation and Concealer
A classic bridal look calls for a flawless complexion. Your foundation choice should match your skin tone perfectly. A long-wear, photo-friendly foundation will ensure you look amazing both in person and in pictures. Apply it with a damp beauty sponge for a seamless finish. Next, use a concealer to cover any blemishes or dark circles. Remember to apply it in a triangle shape under your eyes to lift and brighten your face. Set your base with a translucent powder, focusing on areas prone to shine like the T-zone.
Step 3: Blush, Contour, and Highlight
To bring depth and warmth to the face, contouring and blush are essential. With a light hand, softly contour your cheekbones, temples, and jawline using a matte bronzer. Then, add a rosy or peachy blush to the apples of your cheeks to create a natural flush that enhances your natural beauty. Finally, apply a highlighter to the highpoints of your face, such as the cheekbones, brow bones, and down the bridge of the nose. Be careful not to go overboard – the goal is a gentle, bridal radiance.

Step 4: Elegant Eye Makeup
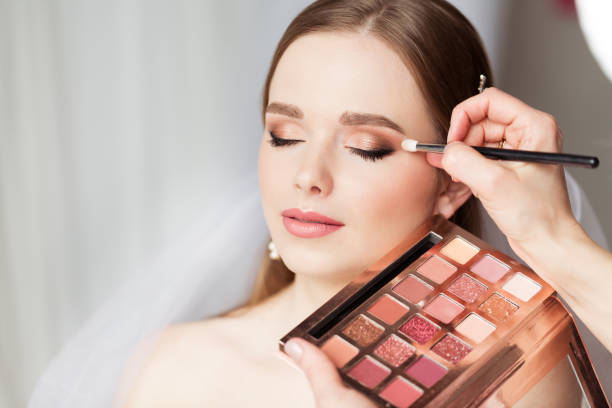
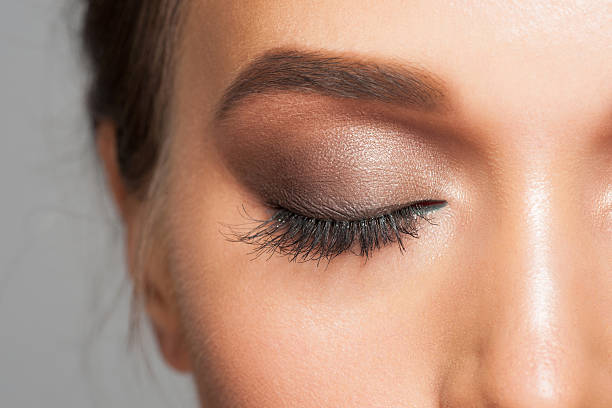
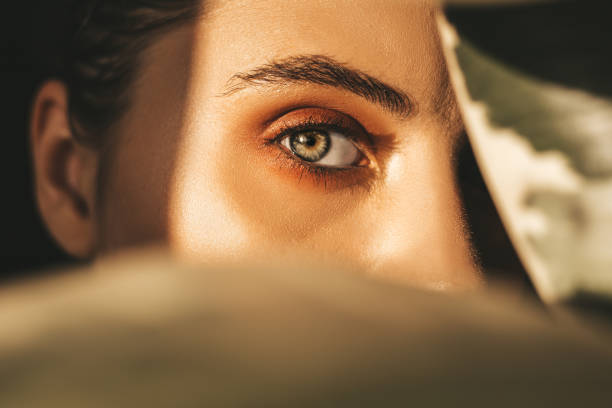
The eyes are a focal point in classic bridal makeup. Here’s how to achieve an elegant eye look:
- Begin with an eye primer to ensure your shadow does not crease or fade.
- Choose a neutral eyeshadow palette with matte shades for crease definition and shimmering tones for the eyelid.
- Apply a light matte shade all over the lid to set the primer.
- Add a medium matte shade into the crease for definition, blending it outwards and upwards.
- Pat a champagne or soft gold shimmer on the center of the eyelid for a pop of brightness.
- Line your upper lash line with a dark brown or black eyeliner, creating a slight wing for a lifted effect.
- Finish with a couple of coats of waterproof mascara to ensure your lashes stand out and remain smudge-free.
If you wish, you can softly define your lower lash line with the medium matte eyeshadow and a thin line of mascara.
Step 5: Perfect Your Pout
The final touch for your classic wedding makeup is the lips. For a long-lasting effect, start by lining your lips with a lip liner that matches your chosen lipstick or your natural lip color. Define the cupid’s bow and outer edges before filling in the entire lip, which will prevent feathering and create a uniform base. Select a traditional bridal lip color such as a soft pink, coral, or nude. Opt for a satin or creamy matte finish; these are long-lasting without being overly drying. A touch of lip gloss in the center of lips can add a fuller look, just apply it sparingly to avoid a sticky situation during the kiss!
Conclusion
Achieving a classic wedding makeup look is all about radiance, refinement, and staying true to your personal style. This timeless aesthetic will ensure you feel confident, beautiful, and bridal on one of the most important days of your life. Remember, practice makes perfect – so don’t hesitate to test out this look a few times before the big day to make sure everything goes off without a hitch.
FAQs
1. How can I make my wedding makeup last all day? To ensure your makeup stands the test of time, use long-lasting products specifically designed for extended wear. Prepping your skin properly, using a primer, and setting your makeup with a setting spray are also crucial steps.
2. Should bridal makeup be heavy so it shows up in photos? Bridal makeup does not need to be heavy to show up beautifully in photos. It’s more important to apply products correctly and emphasize the right features for a photogenic look. A professional makeup artist will know how to strike the right balance.
3. Is it better to use cream or powder blush for my wedding makeup? Both cream and powder blushes work well for bridal makeup. Cream blushes can create a dewy, natural finish, while powders can last longer, especially on oily skin. Some brides use a bit of both for added longevity and a fresh glow.
4. Can I do my own wedding makeup, or should I hire a professional? If you’re comfortable with makeup and enjoy the process, doing your own wedding makeup can add a personal touch to your look. However, a professional makeup artist can offer expertise and help alleviate stress on your big day.
5. How do I choose the right lipstick shade for my bridal look? Consider your natural lip color, skin tone, and the overall color scheme of your wedding. A lipstick that complements these elements, and is a shade or two darker than your lips, will usually work well. Always test the color in different lighting to be sure.

