How to apply liquid foundation for beginners
Preparing Your Skin for Foundation
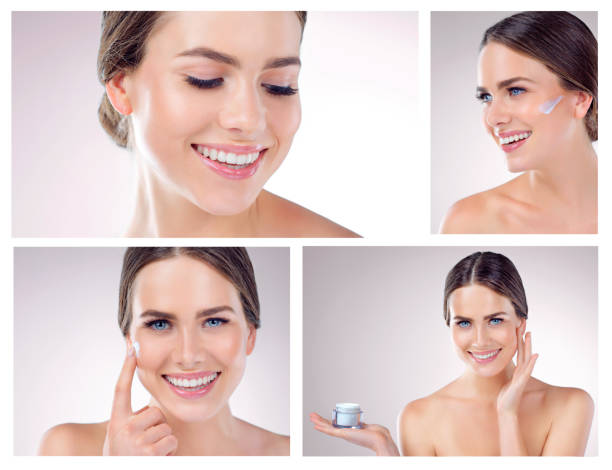
Before you even unscrew the cap of your liquid foundation, preparing your skin is a crucial step. A good way to think of this is like preparing a canvas before painting; you want the smoothest application possible, and that starts with a clean, hydrated base. Always start with clean skin to ensure a flawless finish. If you have dry skin, exfoliating a couple of times a week can also help to remove flaky patches that foundation might cling to.
Following this, moisturizer is key. All skin types benefit from moisturization before foundation, but if you have dry skin, a thicker, hydrating cream will help create a plump, smooth surface. For oily skin types, a light, non-comedogenic moisturizer will add hydration without contributing to excess oil.
Next, a primer is the secret weapon for a flawless foundation application. This luscious layer serves multiple purposes: it can smooth out fine lines, minimize the appearance of pores, and help your foundation last longer. A silicone-based primer is fantastic for filling in imperfections and offering a slick surface for the foundation to glide over. Depending on your skin’s needs, specialized primers can also address color correction or add luminosity.
Selecting the Right Shade and Tools
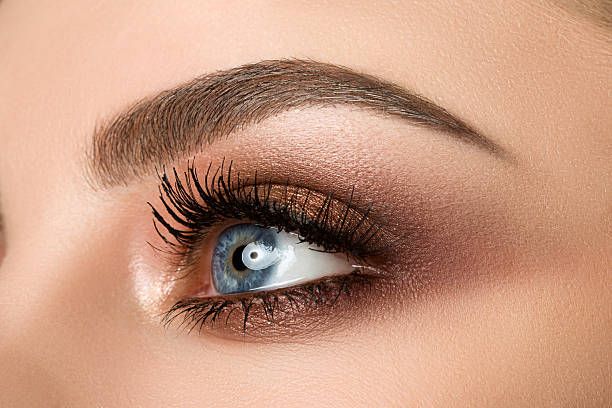
Choosing the right shade of liquid foundation can be a trial, but it’s the cornerstone of a natural and flawless makeup look. Skin undertones (whether you have a cool, warm, or neutral tone) will determine the hue you go for. To test shades, apply a stripe from your jawline down to your neck; the right shade will disappear into your skin.
| Undertone Type | Characteristic Signs | Suitable Foundation Hues |
|---|---|---|
| Cool | Veins appear blue or purple, skin has a pink hue | Rosy, reddish or pinkish |
| Warm | Veins appear green, skin has a yellow or golden hue | Yellow or golden tones |
| Neutral | Mixture of blue and green veins, no obvious overtone | Neutral or beige shades |
When it comes to the tools for applying liquid foundation, you have a bounty of options—makeup sponges, brushes, or even your fingers. Makeup sponges offer a dewy, even coverage, brush strokes can provide a more full coverage look, and fingers are great for a quick application that melts the product into the skin. For beginners, makeup sponges are often recommended for their ease of use and ability to create a natural, airbrushed finish.
Step-by-Step Application Process
- Determining the Right Amount of Foundation
- The Application Technique
Getting the amount right is part science, part art. A good way to start is with a single pump or a pea-sized amount—you can always add more for additional coverage. Always remember, it’s easier to add than subtract, especially when you’re aiming for a natural look.
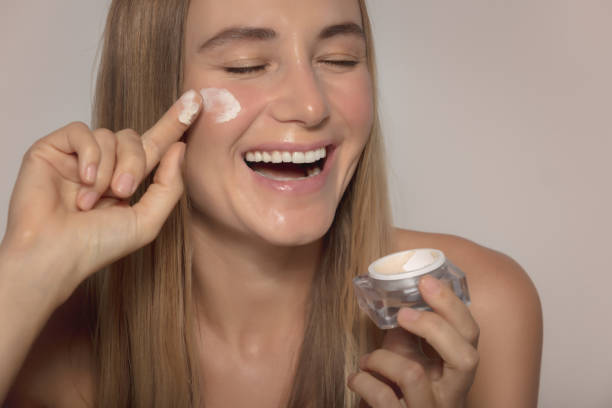
For the application, start at the center of your face and work outward. You can also employ the dotting method: put small dots of foundation on your cheeks, forehead, chin, and nose, then blend. Use gentle, dabbing motions with a makeup sponge for the smoothest application, pressing the foundation into your skin rather than dragging it.
Blending well is the key to a flawless looking finish, and this is where makeup sponges truly shine. They can also be used damp to thin out the foundation for a lighter coverage or dry for a fuller coverage. For areas that need more attention, a second layer can be applied, but make sure to blend each layer thoroughly before adding the next.
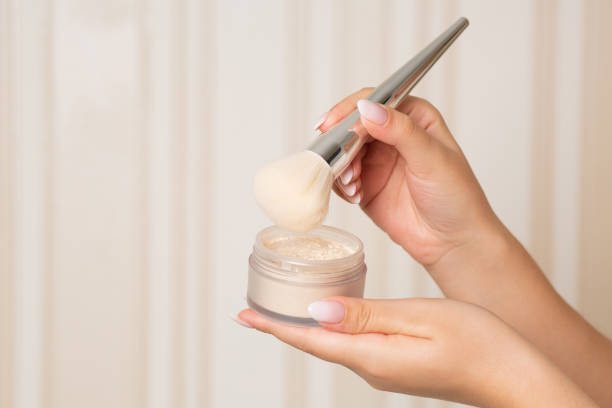
Lastly, setting powders or sprays are not always necessary, but a light dusting of setting powder will help to mattify the skin, keep everything in place, and give you a smooth, long-lasting finish. This is an especially good step for those with oily skin or those in warmer climates.
Additional Tips for a Flawless Finish
After you’ve applied your foundation according to the steps outlined above, consider these additional tips to elevate your look to professional makeup artist status. If you find yourself battling dry patches or an oily T-zone after your foundation is applied, don’t fret. These issues are common and can be mitigated with the proper techniques.
For dry skins, it’s crucial to keep the skin exfoliated and well-moisturized before you even reach for your foundation. If despite these efforts, dry patches persist, reach for a hydrating setting spray instead of a powder. Spritzing this over your face after applying your foundation can bring life back to your skin and settle any powder you may have already applied, reducing the appearance of dryness.
If you have oily skin, a mattifying primer can also work wonders. Additionally, oil-absorbing sheets throughout the day can counteract any shine without disturbing your makeup. It’s not uncommon to have a combination of these skin types, so feel free to adjust the methods and products to what works best for you.
When seeking fuller coverage, layering is key. Apply your foundation in thin layers, allowing each layer to set before applying the next. This will help avoid cakiness and give you a more natural finish. If a lighter coverage is more your style, you can sheer out your foundation by mixing it with a bit of moisturizer for a tinted moisturizer effect.
Lastly, if you make a mistake or your foundation isn’t sitting quite right, be patient. Makeup is a skill that improves with practice. Use a clean sponge to dab away excess product and a spritz of setting spray to melt everything into the skin smoothly. Remember, makeup should be fun and expressive, not stressful!
Conclusion: Embracing Your Flawless Base
Congratulations, you’ve reached the end of this comprehensive guide on applying liquid foundation for beginners! By now, you should feel equipped with the know-how to create a smooth, even, and lasting foundation that is as unique as you are. Let’s quickly recap: you’ve learned the importance of skin preparation, the art of selecting the right shade and tools, and the step-by-step process of applying your foundation for a flawless finish.
As you continue your makeup journey, keep in mind that practice makes perfect. Every application is an opportunity to learn more about what works best for you and your individual skin type. Embrace your newfound skill with confidence, and don’t be afraid to experiment. After all, makeup is an ever-evolving art form, and you are the artist. Stay creative, stay you, and enjoy the beauty of a flawlessly applied liquid foundation!
FAQs After Conclusion
- How do I make my foundation last all day?
- Can I apply foundation with my fingers, or do I need a brush?
- How do I prevent my foundation from looking cakey?
- What do I do if I’ve purchased the wrong shade of foundation?
- How often should I replace my liquid foundation?