Where Does Concealer Go on Your Face? A Visual Guide
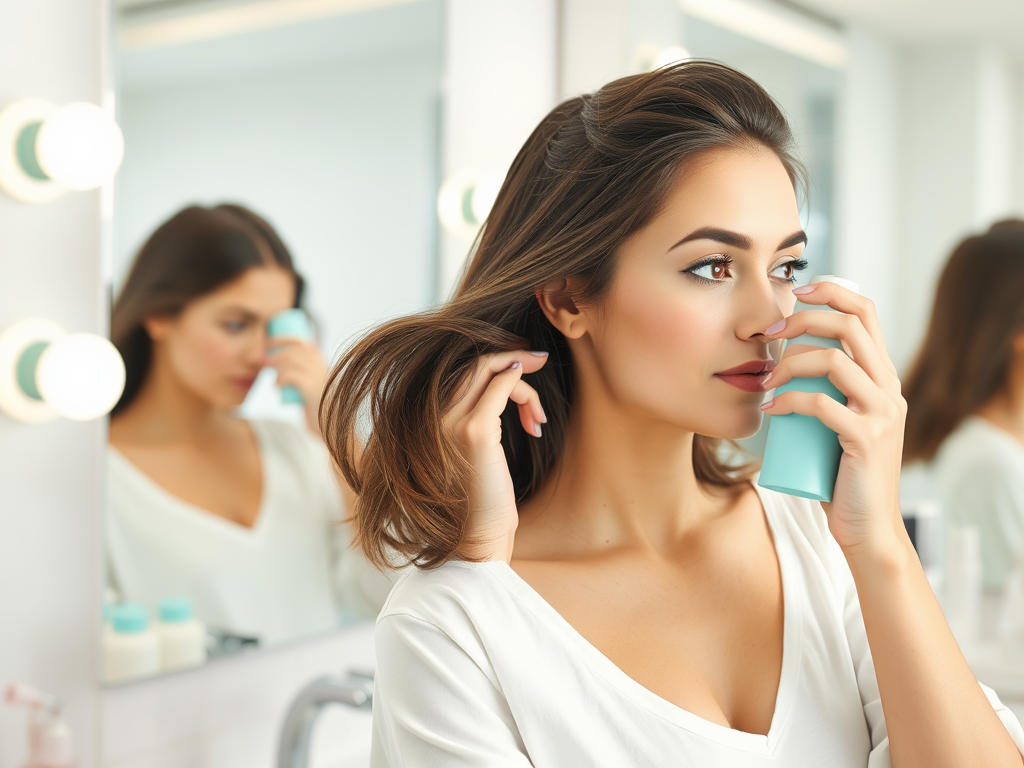
Every makeup enthusiast knows that the secret to a flawless complexion often lies in the details, and one such detail is concealer. This magical product is your best friend when it comes to creating a radiant finish that hides imperfections and highlights your natural beauty. Whether you’re battling dark circles, redness, or blemishes, knowing where and how to apply concealer can transform your makeup routine. In this guide, we will explore the best areas to apply concealer, different techniques, and some handy tips to ensure you achieve that coveted flawless look. Ready to take your concealer game to the next level? Let’s dive in!
Understanding Concealer
Concealer is a versatile makeup product designed to mask flaws, unify skin tones, and enhance certain facial features. Unlike foundation, which provides an overall coverage, concealers target specific areas that need extra attention. These include dark circles under the eyes, acne scars, or those pesky redness patches. There are several variations available in the market, each tailored for specific needs and skin types. Using the right kind ensures that you get maximum coverage without looking cakey or heavy on the skin.
Types of Concealer
- Cream: Rich texture that offers great coverage and is ideal for dry skin.
- Liquid: Lightweight and buildable, suitable for all skin types, excellent for under-eye areas.
- Stick: Convenient and perfect for on-the-go touch-ups, good for targeted applications.
- Waterproof: Long-lasting and resistant to moisture; great for events or hot weather.
Choosing the Right Shade
- Consider your undertones: warm, cool, or neutral.
- Always test shades in natural light for accurate matching.
- Select a shade that is one or two tones lighter than your foundation for under-eye application.
Key Areas for Concealer Application
Understanding where to apply concealer is key to achieving a polished look. The aim is to counterbalance imperfections while enhancing your natural beauty. Here are the primary areas where concealer shines:
Under the Eyes
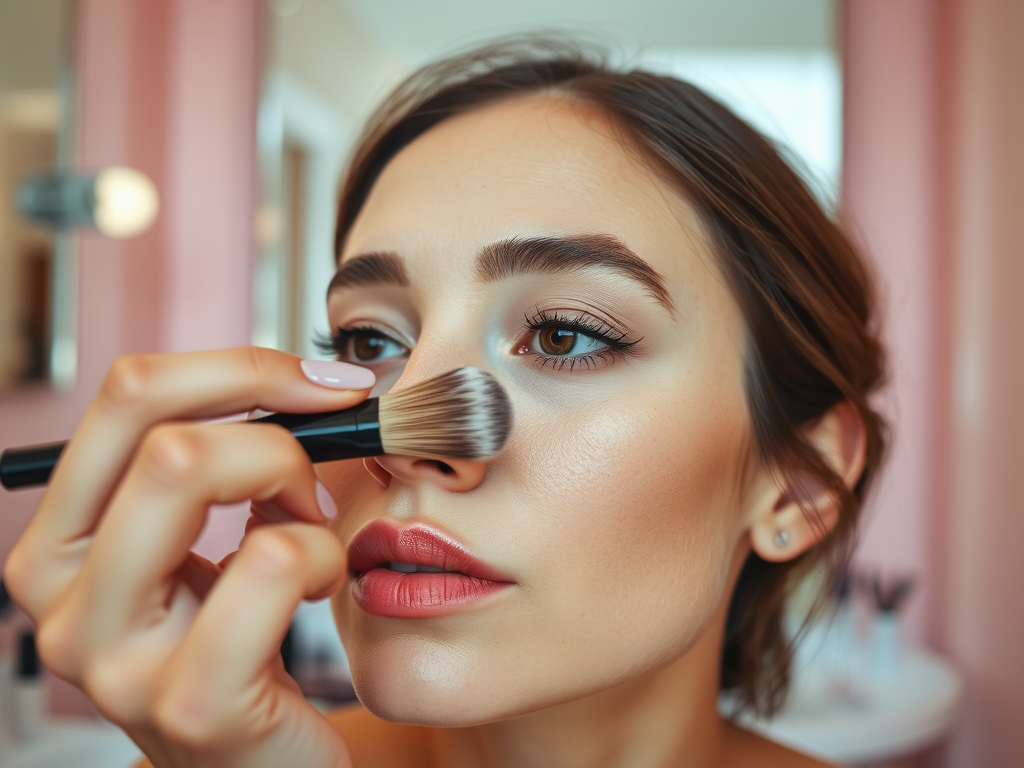
While many face common skin issues, dark circles require specific strategies to combat their appearance. Apply your concealer in a triangular shape under your eyes and blend it seamlessly to avoid a stark line. This method not only conceals dark circles but also helps to lift the appearance of your eyes.
Blemishes and Redness
Blemishes deserve targeted attention, too. To conceal a pimple or a pesky red spot, use a small brush or your fingertip to tap the concealer directly on the blemish. Start light, as you can always build up coverage. Moreover, red areas around the cheeks or nose can also benefit from a similar technique to provide an even skin tone.
Highlighting Certain Features
Concealer isn’t just about hiding imperfections; it can also be used to highlight desired features. Applying a small amount on the bridge of the nose, the center of the forehead, and the chin can enhance these areas, giving your face added dimension. This technique can work wonders, especially when combined with contouring.
| Area | Best Concealer Type | Application Technique |
|---|---|---|
| Under the Eyes | Liquid | Use a damp beauty sponge for blending. |
| Blemishes | Stick | Dot onto the blemish and pat with fingertips. |
| Redness | Cream | Apply with a brush and blend outward. |
| Highlighting | Liquid or Cream | Use a small brush to apply strategically. |
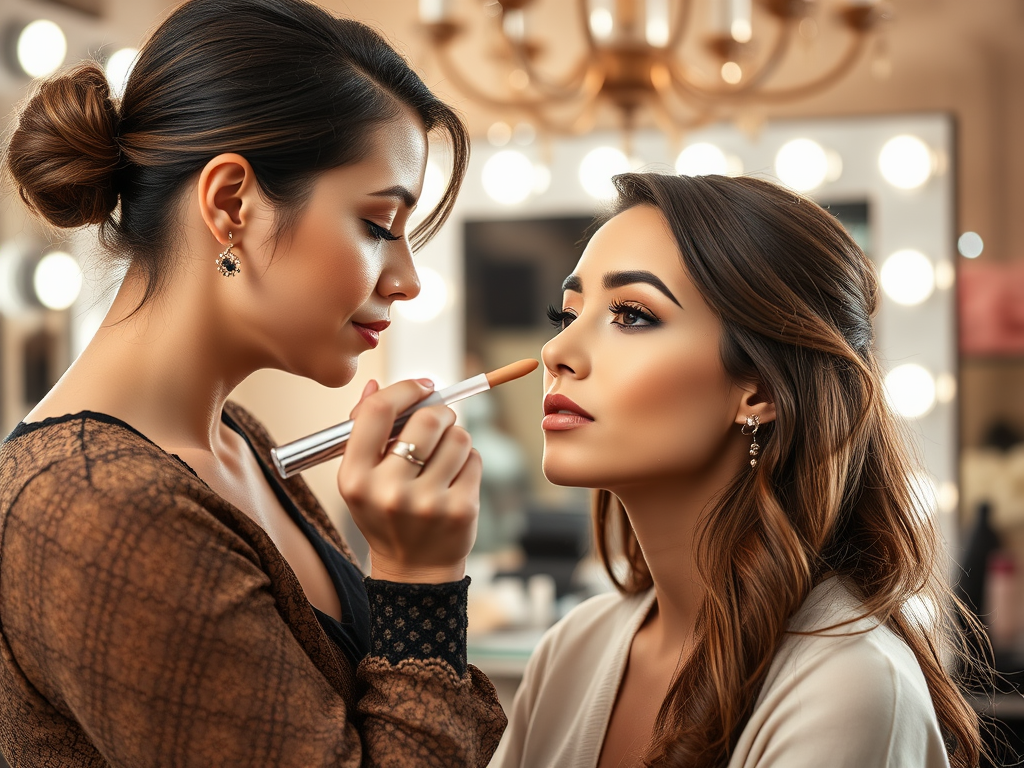
Application Techniques for Flawless Finish
The technique you use to apply concealer can make all the difference. Using the right tools is pivotal in achieving that perfect blend. Here are some must-have tools to consider:
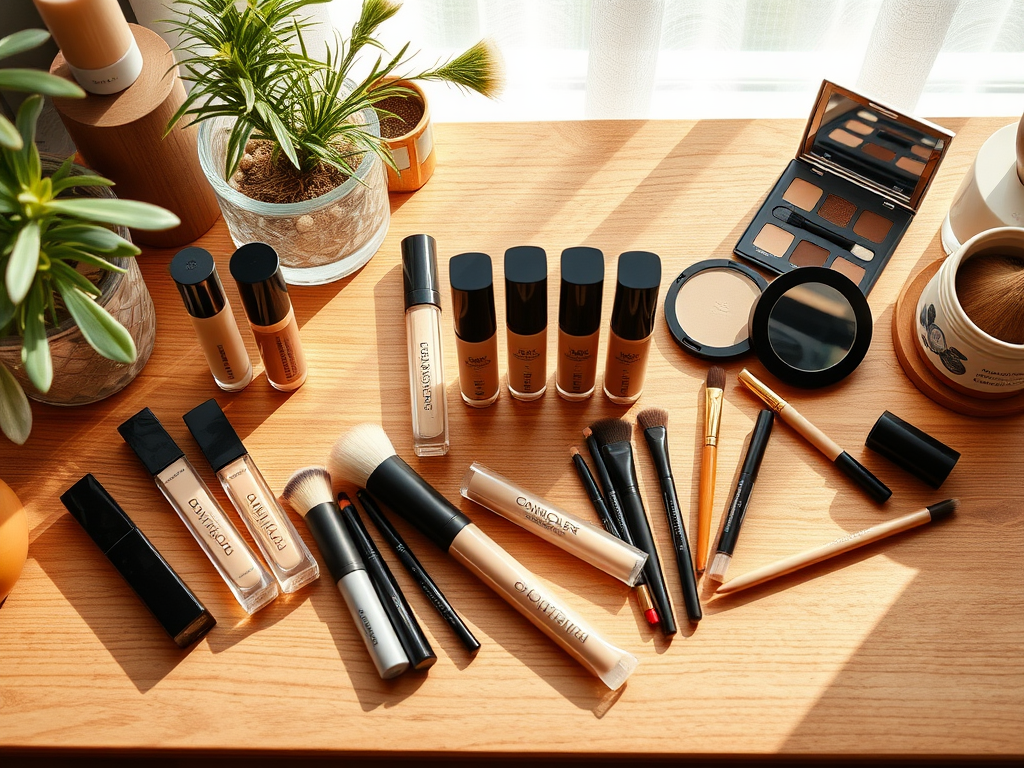
Tools You Need
- Makeup Brushes: Enables precise application for targeting small areas.
- Beauty Sponges: Ideal for seamless blending over larger areas.
- Fingers: Great for applying heat and can work well for a more natural finish.
Step-by-Step Application Guide
Applying concealer correctly is crucial for a polished appearance. – Start with a clean face and apply primer.- Use your concealer in the areas mentioned previously and apply in small dots.- Blend gently using your chosen tool, ensuring there are no harsh edges.- Set with a light dusting of translucent powder to prevent creasing.Through this process, you’ll find the perfect balance between coverage and a natural finish!
Conclusion
In summary, the right application of concealer can elevate your entire makeup routine. Understanding the key areas for application and the techniques required can make all the difference in achieving that flawless look. Practice is key, so don’t be afraid to experiment with different areas, products, and application styles. With these tips and techniques, you’re well on your way to mastering the art of concealer. Embrace your beauty and let your confidence shine through!
Frequently Asked Questions
- What is the purpose of using concealer? Concealer is used to cover imperfections such as dark circles, blemishes, and redness.
- Can I use concealer without foundation? Yes, concealer can be used on its own for a more natural look.
- How do I choose the right concealer for my skin type? Consider your skin type (oily, dry, combination) and choose a concealer that suits it, such as matte for oily skin or moisturizing for dry skin.
- How often should I replace my concealer? It’s advisable to replace makeup products every 6-12 months, or when they start to smell or change in texture.